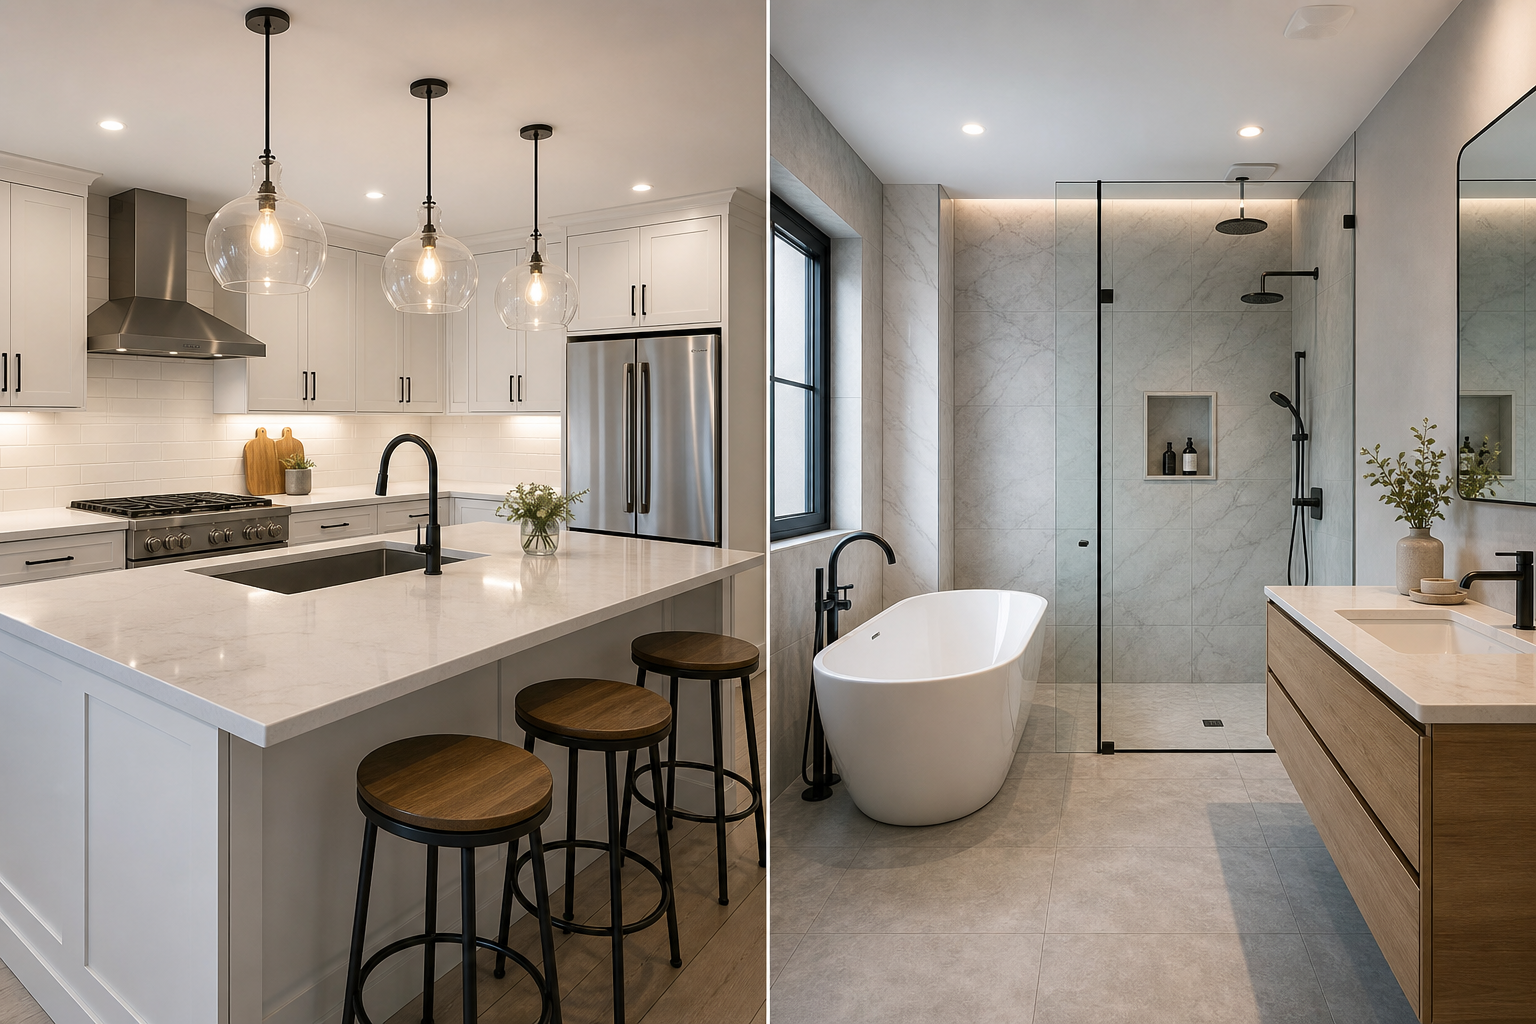
A Practical Guide to Kitchen & Bath Renovations
Kitchen & bath renovations are among the most impactful upgrades you can make at home. These spaces work hard every day, face moisture and heat, and demand smart storage, safe utilities, and durable finishes. This guide offers a practical, step-by-step framework—from defining your scope to final walkthroughs—so you can plan with confidence, coordinate work in the right order, and make choices that stand up to real use.
Set your goals and scope
Begin by documenting what is and isn’t working today. In kitchens, consider prep space, cooking workflows, storage, and cleanup; in bathrooms, think about daily routines, privacy, ventilation, and drying surfaces. Translate observations into a clear scope so decisions stay aligned.
- Must-haves: Non-negotiables such as more counter space, a second sink, or a curbless shower.
- Nice-to-haves: Features you’d like if time and budget allow (for example, a pantry cabinet or heated floors).
- Constraints: Room size, structural walls, window/door placement, and existing plumbing/electrical locations.
- Style direction: Note three adjectives (for example, warm, light, minimal) and 5–7 reference photos to guide selections.
- Performance priorities: Easy-to-clean surfaces, moisture resistance, scratch resistance, or acoustic control.
Capture measurements, outlet and vent locations, ceiling heights, and door swing directions. Photograph all walls and corners. Good documentation reduces rework later.
Plan functional layouts
A thoughtful layout makes everyday tasks smoother and safer. Design for movement first; finishes come later.
Kitchen workflow zones
- Prep zone: Locate continuous counter space near the sink and waste/recycling.
- Cooking zone: Keep heat sources away from traffic pinch points; ensure landing space on both sides where possible.
- Cleanup zone: Place the dishwasher adjacent to the sink with clear dish storage nearby.
- Storage zones: Group daily-use items between waist and eye level; keep heavy pots/pans in base drawers.
Maintain clear paths: leave comfortable walkways and avoid appliance doors clashing. If adding an island, confirm door clearances, seating overhangs, and circulation around open dishwasher and oven doors.
Bathroom usability
- Separate wet and dry areas when possible to reduce slip risk and simplify cleanup.
- Allow comfortable spacing for doors, drawers, and shower glass to open fully.
- Consider sightlines: position mirrors, lighting, and storage for daily routines without bottlenecks.
- Plan towel bars, niches, and hooks before tile design so placements feel integrated.
Choose durable materials and finishes
Surfaces in kitchens and bathrooms face moisture, heat, abrasion, and frequent cleaning. Select materials for function first, then refine for style.
- Cabinetry: Look for sturdy box construction, moisture-resistant substrates in wet zones, and hardware with smooth, reliable action.
- Countertops: Balance heat tolerance, stain resistance, and maintenance. Confirm seam locations and support for overhangs.
- Tile: Favor slip-conscious floor tile in baths; on walls and backsplashes, use grout suited to your cleaning routine.
- Flooring: Choose water-tolerant options for kitchens and especially bathrooms; verify underlayment, transitions, and height changes.
- Fixtures and fittings: Confirm flow rates, valve compatibility, and replacement parts availability.
- Finishes: Moisture-resistant paints and sealants help protect walls and trim near sinks, tubs, and ranges.
Request product data sheets for cleaning recommendations and installation requirements. Align selections with actual care habits—longevity depends as much on maintenance as on the material itself.
Prioritize waterproofing and ventilation
Bathrooms and kitchen splash zones need robust moisture control. Water that migrates behind tile or cabinetry can compromise finishes and framing. A sound system combines a reliable waterproofing method with effective ventilation.
- Shower assemblies: Use a continuous waterproofing approach (membrane or equivalent system) from floor pan to walls, including niches and benches.
- Tub surrounds: Extend waterproofing above expected splash height and integrate carefully at corners and plumbing penetrations.
- Kitchen splash zones: Protect behind sinks, dishwashers, and ranges; seal penetrations and edges.
- Ventilation: Provide appropriately sized, properly ducted exhaust fans in baths; over cooking appliances, use ventilation per manufacturer guidance.
Moisture management is a safety and durability matter. Consult qualified professionals for design, installation, and verification, and follow manufacturer instructions for all systems.
Get the sequence right
Renovations go smoother when work follows a predictable order. Adjust for your project, but use this high-level sequence as a starting point.
- Protect adjacent areas: Floor protection, dust barriers, and temporary pathways.
- Demolition: Remove fixtures, cabinets, surfaces, and any materials within the scope.
- Rough-ins: Plumbing, electrical, ventilation, and framing adjustments.
- Inspections (where applicable): Coordinate checks before closing walls or floors.
- Close-up: Insulation (as relevant), backer boards, drywall or cement board, and priming.
- Waterproofing: Install membranes, pans, and sealants as specified.
- Surfaces: Tile, flooring, backsplashes, and wall finishes.
- Cabinetry and millwork: Install boxes, fillers, panels, and trim.
- Countertops and glazier work: Template, fabricate, and install tops and shower glass.
- Fixtures and appliances: Set sinks, faucets, valves, toilets, and appliances.
- Final electrical and plumbing connections: Set devices, lighting, and trim.
- Sealing and caulking: Address transitions and wet-area joints.
- Final clean: Remove debris, wipe down, and polish surfaces.
- Walkthrough and punch list: Note touch-ups, adjustments, and warranty documentation for products.
If you are coordinating multiple trades, hold brief check-ins before each phase to confirm site readiness and details like blocking, niche sizes, and appliance clearances.
Design for storage and access
Clutter-free surfaces make both kitchens and bathrooms feel larger and more usable. Build storage into the plan—not as an afterthought.
- Base drawers over doors for heavy cookware and small appliances.
- Pull-outs or organizers for pans, spices, cleaning supplies, and recycling.
- Tall cabinets or linen towers for bulk items and towels.
- In-shower niches sized to actual bottles; slope shelves to shed water.
- Vanity interiors with trays or shallow drawers for grooming items.
- Charging locations inside cabinets to keep counters clear.
Layer your lighting
Balanced lighting improves safety and comfort. Aim for three complementary layers:
- Ambient: Overall light from ceiling fixtures or recessed lights for even coverage.
- Task: Focused light at counters, cooktops, vanities, and showers.
- Accent: Under-cabinet, toe-kick, or niche lighting to add depth and help with night use.
In bathrooms, place mirror lighting to minimize shadows. In kitchens, continuous under-cabinet lighting helps illuminate the full counter depth. Confirm switch locations and dimming plans before rough-in.
Select fixtures with purpose
Fixtures drive daily experience. Choose based on function, compatibility, and long-term serviceability.
- Faucets and valves: Confirm valve type and trim compatibility; keep product documentation for future maintenance.
- Sinks: Balance bowl size, depth, and accessories like grids or colanders.
- Showers and tubs: Consider controls placement to avoid standing under cold water when turning on.
- Toilets: Verify rough-in dimension and seat height preferences.
- Appliances: Review electrical and ventilation needs early to plan circuits and duct runs.
Safety, compliance, and quality checks
Working with plumbing, electrical, and structural elements involves safety and regulatory considerations. Requirements vary by location. Determine whether permits or inspections are required for your scope, and consult qualified professionals when planning and executing work.
- Shutoffs and isolation: Identify main water and power shutoffs before demolition.
- Electrical safety: Confirm grounding, GFCI/AFCI protection where applicable, and circuit capacity for new loads.
- Plumbing: Pressure-test new lines and verify slopes and traps before close-up.
- Ventilation: Ensure proper ducting to the exterior where specified by product guidelines.
- Materials documentation: Keep install guides, serial numbers, and finish codes for future service.
Before moving on from any phase, perform a quick quality check: straight lines, plumb/level surfaces, consistent reveals, solid fastenings, and clean transitions.
Timeline and readiness
Project duration depends on scope, lead times, and site conditions. To keep momentum, define readiness criteria for each phase so work can start on time and without guesswork.
- Ordering: Place long-lead items (cabinets, custom glass, certain fixtures) early.
- Staging: Confirm space for storing delivered products and protecting them from damage.
- Access: Arrange parking, building access, and elevator bookings if relevant.
- Site power and water: Ensure temporary power, lighting, and water access during work.
- Inspections: Schedule ahead where needed to avoid delays between rough-in and close-up.
Cleaning and care
Good maintenance preserves finishes and keeps kitchens and bathrooms healthy and pleasant to use.
- Allow curing: Follow product-specific cure times before heavy use or cleaning.
- Use compatible cleaners: Avoid abrasives or chemicals not recommended by manufacturers.
- Sealants and grout: Re-seal per manufacturer guidance and repair any cracks promptly.
- Ventilate: Run bath fans after showers and use range ventilation during cooking.
- Drips and splashes: Wipe promptly to prevent staining or swelling at seams.
Walkthrough and punch list
Close the project with a methodical review.
- Operation check: Open and close every door, drawer, and valve; run appliances and fans.
- Surfaces: Inspect caulking, grout lines, edge profiles, and paint touch-ups.
- Documentation: Collect manuals, maintenance guides, spare tiles, touch-up paint, and finish samples.
- Photos: Capture reference photos of shutoff locations, under-sink plumbing, and inside cabinets for future service.
FAQ
How long do kitchen & bath renovations typically take?
Timelines vary with scope, product lead times, and site conditions. A modest update with minimal layout changes is usually faster than a full reconfiguration with utility moves and custom items. To reduce downtime, finalize layouts early, order long-lead products in advance, and define clear readiness criteria for each phase.
Do I need permits or inspections?
Requirements depend on your location and scope. Check with your local authority to determine what is necessary for plumbing, electrical, structural, or ventilation changes. When in doubt, consult qualified professionals and follow manufacturer instructions for all installed products.
What should be selected before work starts?
Decide on cabinets, appliances, fixtures, tile, flooring, countertops, lighting, and hardware before demolition whenever possible. Having confirmed specifications allows accurate rough-ins, avoids rework, and helps the project stay on schedule.
How can I minimize dust and disruption?
Plan for temporary protection such as floor coverings and plastic barriers, define delivery and staging areas, and agree on daily cleanup standards before work begins. Store sensitive items away from work zones and maintain good ventilation during sanding, cutting, or painting.
What’s the right order for installations?
A common sequence is protect, demo, rough-ins, inspections (where applicable), close-up, waterproofing, surfaces, cabinetry, countertops and glass, fixture setting, final connections, sealing, and clean. Confirm the exact order based on your products and site conditions.