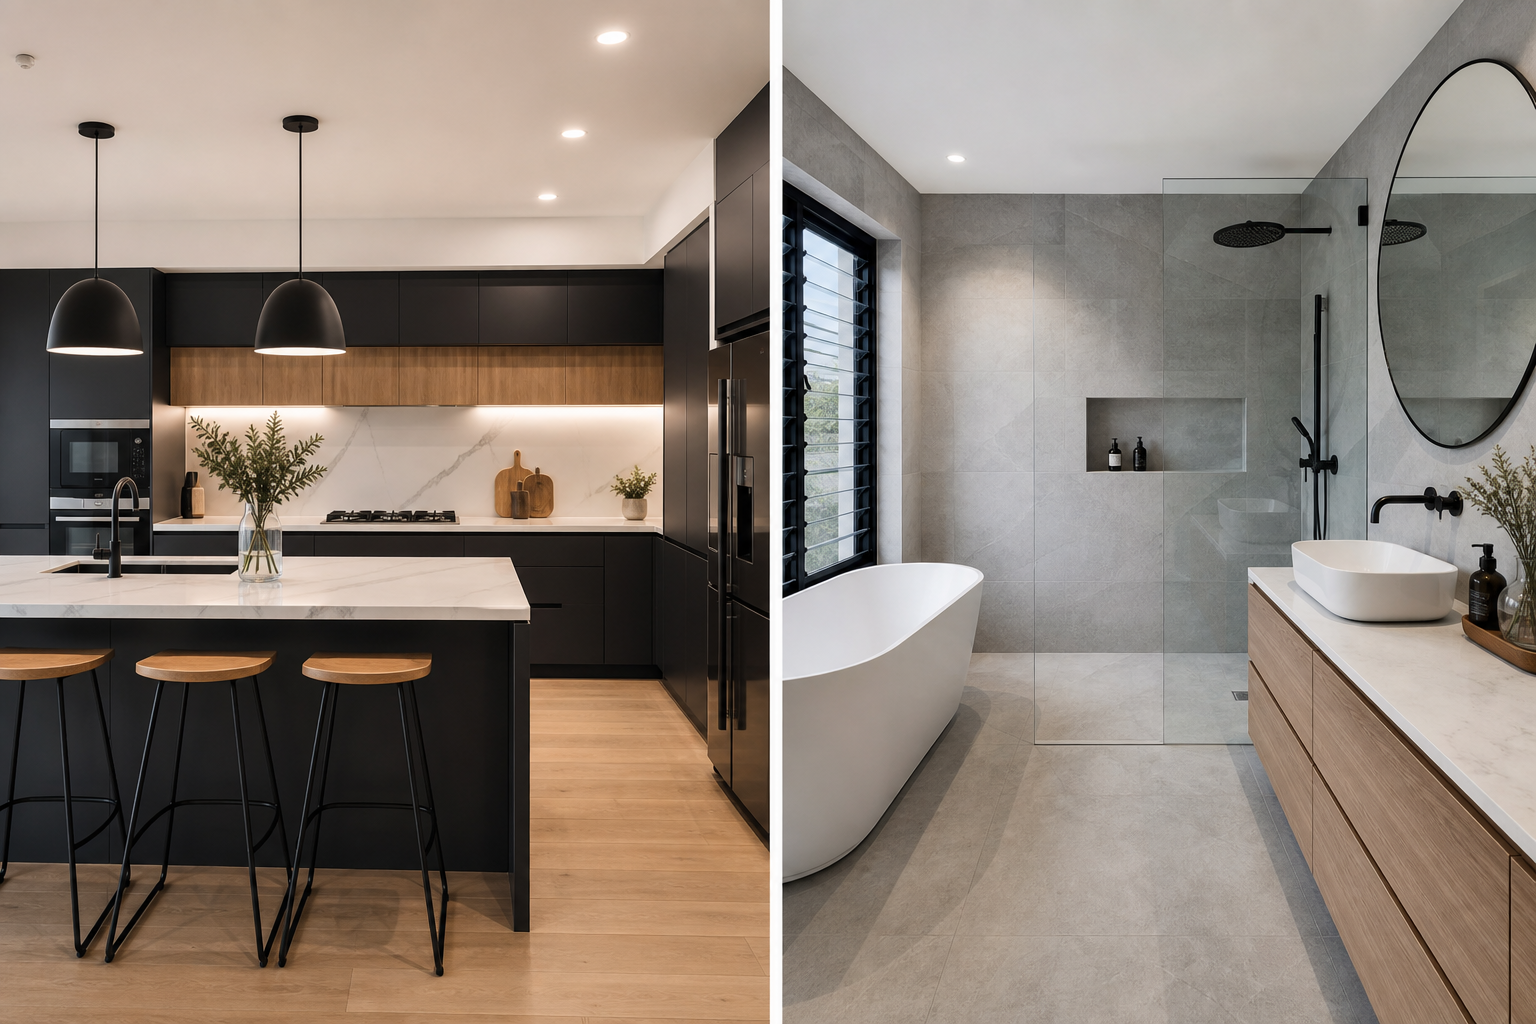
A Practical Guide to Kitchen and Bathroom Renovations
Kitchen and bathroom renovations touch the most technical and most frequently used spaces in a home. They combine structure, plumbing, electrical, finishes, and ventilation into compact footprints where mistakes are costly and disruptions are felt daily. This guide gives you a practical framework to plan, design, and manage kitchen and bathroom projects with confidence—whether you are refreshing finishes or rethinking layouts from the subfloor up.
Set your scope and objectives
Clarity at the start protects your budget, timeline, and sanity. Before you choose colours or fixtures, define why you are renovating and what must change versus what would be nice to have.
- Must-haves: Examples include more counter space, a safer shower, improved task lighting, taller storage, or better ventilation.
- Nice-to-haves: Consider a pot-filler, heated floors, a beverage centre, or a soaking tub.
- Constraints: Note structural walls, window locations, ceiling heights, existing supply and drain lines, electrical panel capacity, and appliance dimensions.
- Performance goals: Think durability, cleaning ease, moisture resistance, and noise control.
Translate your list into a rough scope statement. For instance, “Replace cabinets and counters; keep layout; upgrade lighting and backsplash” is a different project from “Move sink and range; add island; re-tile floor; build walk-in shower.” The more specific your scope, the easier it will be to estimate time and materials and to sequence trades.
Build a realistic plan and sequence
Renovations succeed or stall based on sequencing. Kitchens and bathrooms require overlapping trades in tight spaces; a solid plan keeps work flowing and reduces rework.
- Assessment and measuring: Create dimensioned drawings of existing spaces. Capture wall lengths, ceiling heights, door swings, window sizes, plumbing locations, and vent paths.
- Design development: Draft the proposed layout, elevations, and lighting plan. Confirm appliance and fixture specifications early to size electrical and plumbing correctly.
- Material selection and lead times: Cabinets, stone, glass, and specialty fixtures often have long lead times. Placing orders before demolition helps avoid schedule gaps.
- Permits and approvals: Many jurisdictions require permits for structural, electrical, and plumbing changes. Confirm requirements with your local authority before starting. When in doubt, consult qualified professionals.
- Protection and site setup: Plan for dust control, floor protection, negative air (if needed), and clear access paths.
- Demolition and disposal: Remove only what the plan dictates; verify hidden conditions before committing to layout changes.
- Rough-ins: Frame changes; run plumbing, electrical, ventilation, and low-voltage as designed. Pressure-test plumbing and verify circuit loads.
- Insulation and moisture control: In bathrooms and behind kitchen sinks, integrate moisture-resistant assemblies before closing walls.
- Close-up: Drywall, taping, and priming. Confirm backing for heavy items like wall-hung vanities, shower glass, and floating shelves.
- Hard finishes: Tile, flooring, countertops, and panels. Maintain expansion gaps and movement joints where required.
- Cabinetry and millwork: Set and level base units first, then uppers. Scribe fillers and panels for clean, plumb lines.
- Appliances and fixtures: Install sinks, faucets, shower systems, toilets, fans, and built-in appliances per manufacturer clearances.
- Lighting and devices: Fit trims, switches, dimmers, GFCI/AFCI devices, and under-cabinet lighting.
- Sealing, caulking, and paint: Use the right sealants for wet and transition areas; finish painting between installation stages.
- Final checks and handover: Test all systems, tune doors and drawers, and complete a punch list before declaring the space finished.
Design that works hard
Design choices should solve daily problems first, then elevate the look. Focus on efficiency, ergonomics, and maintenance.
- Workflows: In kitchens, align the fridge, sink, and cooktop to minimize steps. In bathrooms, place towel storage within arm’s reach of the shower.
- Clearances: Aim for comfortable aisle widths and door swings that won’t collide with appliances or vanities.
- Vertical storage: Use full-height cabinets, pull-outs, and drawer organizers to keep counters clear.
- Task and ambient lighting: Layer bright task lighting with softer ambient fixtures. Under-cabinet lights reduce shadows on prep areas; dimmers adapt to different tasks.
- Ventilation: A quiet, properly ducted range hood or bath fan preserves finishes, keeps air fresh, and helps manage moisture.
- Accessible details: Consider lever handles, taller toe-kicks, curbless showers, and blocking for future grab bars when planning framing.
Smart material choices
Materials in wet and high-traffic areas must balance beauty and durability. Select with maintenance and lifecycle in mind.
- Cabinetry: Plywood boxes resist moisture better than many alternatives. Soft-close hardware and full-extension slides improve daily use.
- Countertops: Weigh stain resistance, heat tolerance, and required maintenance. Choose edges and overhangs suited to traffic and seating.
- Tile: Porcelain offers durability and low absorption. Use smaller tiles or textured options in wet zones for traction.
- Shower systems: Consider integrated waterproofing systems that combine membranes, drains, and compatible adhesives.
- Flooring: In kitchens, resilient surfaces reduce fatigue. In bathrooms, prioritize slip resistance.
- Finishes and sealants: Use mould-resistant paints in baths and food-safe finishes near prep zones as directed by manufacturers.
Waterproofing and moisture management
Water is unforgiving. A sound waterproofing strategy protects structure and finishes for the long term.
- Continuous membrane: In showers, extend waterproofing over the pan, up walls, and onto adjacent floor areas as part of an integrated system.
- Shower slope and drains: Ensure proper slope to the drain; confirm weep holes remain clear during tile installation.
- Penetrations: Seal valve openings, niches, and fasteners with compatible gaskets or sealants to maintain system continuity.
- Transitions: Use appropriate sealant at changes of plane (wall-to-floor, wall-to-wall) to accommodate movement.
- Ventilation: Size and duct fans to the exterior with smooth, short runs to reduce condensation.
Electrical and plumbing coordination
Small changes can have big impacts. Coordinate locations and capacities early to avoid conflicts behind finished walls.
- Fixture rough-in: Confirm rough-in heights and setbacks for faucets, shower valves, niches, and wall-hung fixtures against manufacturer templates.
- Appliance specs: Venting, clearances, and electrical loads vary widely—finalize selections before rough-ins begin.
- Shutoffs and access: Install accessible valves and cleanouts; plan removable panels where future service may be required.
Layout decisions that save time
Relocating plumbing stacks, exterior vents, or major electrical feeders adds complexity. If your goals can be met by reusing existing locations, you’ll simplify the build. When changes are necessary, bundle them: for example, moving a sink, dishwasher, and disposal together may minimize rerouting lengths and walls opened.
- Island trade-offs: An island sink may require floor trenching and careful slope management; balance this against the workflow benefits.
- Door and window shifts: Adjusting openings can unlock storage runs or shower layouts, but affects headers, exterior finishes, and trim alignment.
- Ceiling cavities: Soffits can hide ducts and lines, but consider visual impact and lighting opportunities if you keep ceilings flat.
Timeline and logistics
Renovations affect daily routines. Planning for downtime and access reduces stress.
- Temporary setups: Create a mini-kitchen with a portable cooktop, microwave, and fridge; for bathrooms, plan shower access elsewhere.
- Delivery windows: Schedule heavy deliveries (cabinets, stone, appliances) when pathways are clear and protected.
- Inspection milestones: If permits are required, align inspections with rough-in and close-up stages to avoid rework.
- Lead item tracking: Keep a log of ordered items with expected dates and dependencies (e.g., counters templated after cabinets installed).
Quality control and punch lists
Systematic checks catch issues early. Build a simple quality plan you can reference at each stage.
- Pre-close photos: Photograph every wall after rough-ins. These images speed troubleshooting and future upgrades.
- Flat, plumb, square: Use a long level and laser to verify walls and floors before tile or cabinetry.
- Cabinet alignment: Check reveals, door swings, and drawer glides; adjust before countertops are set.
- Water tests: Pressure-test supply lines and flood-test shower pans per manufacturer instructions before tiling.
- Appliance and fixture run-up: Verify burners, elements, fans, and drains under real use; look for slow leaks after first fills.
- Punch list walk-through: Compile remaining fixes in writing, prioritize safety and water-related items, then cosmetics.
Safety and good housekeeping
Safe, clean sites run smoother and protect finishes.
- Dust control: Use zipper doors, tack mats, and extractors. Cover returns to protect HVAC.
- Slip and chip prevention: Protect finished floors with appropriate coverings; avoid tape directly on delicate surfaces.
- Tool zones and waste: Keep a defined staging area and regular debris removal schedule to maintain access and reduce hazards.
Sustainable and low-maintenance choices
Thoughtful selections can reduce resource use and caretaking over the long term.
- Long-life components: Prioritize parts with replaceable cartridges and widely available service kits.
- Water and energy: Choose efficient fixtures and appliances that meet your performance needs while reducing consumption.
- Repairable finishes: Consider surfaces that can be refinished or spot-repaired rather than fully replaced.
- Good ventilation habits: Proper fan use and make-up air strategies protect indoor air quality and finishes.
Budget controls without prices
Even without quoting numbers, you can keep spending aligned with goals.
- Prioritize touchpoints: Put more resources into items you interact with daily—faucets, hardware, counters, and lighting controls.
- Standardize where hidden: Use standardized organizers and interior cabinet finishes while reserving custom work for visible areas.
- Minimize late changes: Finalize layouts and specs before rough-in to avoid added labour.
- Order spares: Keep a few extra tiles, handles, and touch-up paints for future repairs.
Common pitfalls to avoid
- Skipping ventilation sizing and ducting details—leading to lingering odours or moisture.
- Installing tile over uneven substrates—causing lippage and premature cracking.
- Forgetting blocking for accessories—limiting future upgrades or forcing anchors into weak surfaces.
- Under-lighting work areas—creating shadows at sinks and cooktops.
- Incompatible waterproofing components—mixing products not designed to work together.
- Setting countertops before verifying cabinet level—telegraphing errors into seams and backsplashes.
Kitchen-specific checklist
- Confirm appliance specs and final locations before rough-in.
- Plan dedicated circuits and ventilation paths appropriate to your selections and local requirements.
- Template counters only after cabinets are leveled and fixed.
- Position task lights to avoid casting shadows from upper cabinets.
- Protect the floor during appliance moves and stone installation.
Bathroom-specific checklist
- Choose a complete shower waterproofing system and follow its sequencing.
- Verify valve heights, niche placements, and glass tolerances against tile layout.
- Use slip-resistant flooring in wet zones and specify appropriate grout.
- Vent to the exterior and verify fan airflow after installation.
- Plan for accessible shutoffs and cleanouts.
How to compare bids and proposals
When you request proposals, provide the same scope and drawings to each party so comparisons are meaningful. Evaluate beyond totals by checking what is included and how risks are handled.
- Inclusions and exclusions: Look for line items covering protection, disposal, rough-ins, waterproofing, finishing, and cleanup.
- Specifications and brands: Ensure quoted items match your selections or equivalents you approve.
- Allowances and contingencies: Understand which items are provisional and how overages are managed.
- Schedule and sequencing: Confirm lead-time assumptions and critical path activities.
- Change process: Ask how changes are priced and approved to avoid surprises.
FAQ
How do I decide whether to keep or change my kitchen or bathroom layout?
Start by mapping pain points and verifying whether they stem from layout or from storage and lighting. If workflow, accessibility, or clearances are the issue, a layout change may be warranted. If clutter, dark counters, or limited vertical storage are the problem, you might solve them with better cabinetry and lighting while keeping major services in place.
What should I finalize before demolition begins?
Confirm the scope, dimensioned drawings, appliance and fixture selections, electrical and plumbing plans, ventilation routes, and long-lead orders (cabinets, stone, glass). Having these locked in reduces delays and rework once walls are open.
How can I minimize disruption during a renovation?
Phase the work logically, set up temporary alternatives (like a mini-kitchen), schedule deliveries to avoid bottlenecks, and protect adjacent areas. Clear communication about access windows and inspection timing also keeps the project moving while maintaining daily routines.