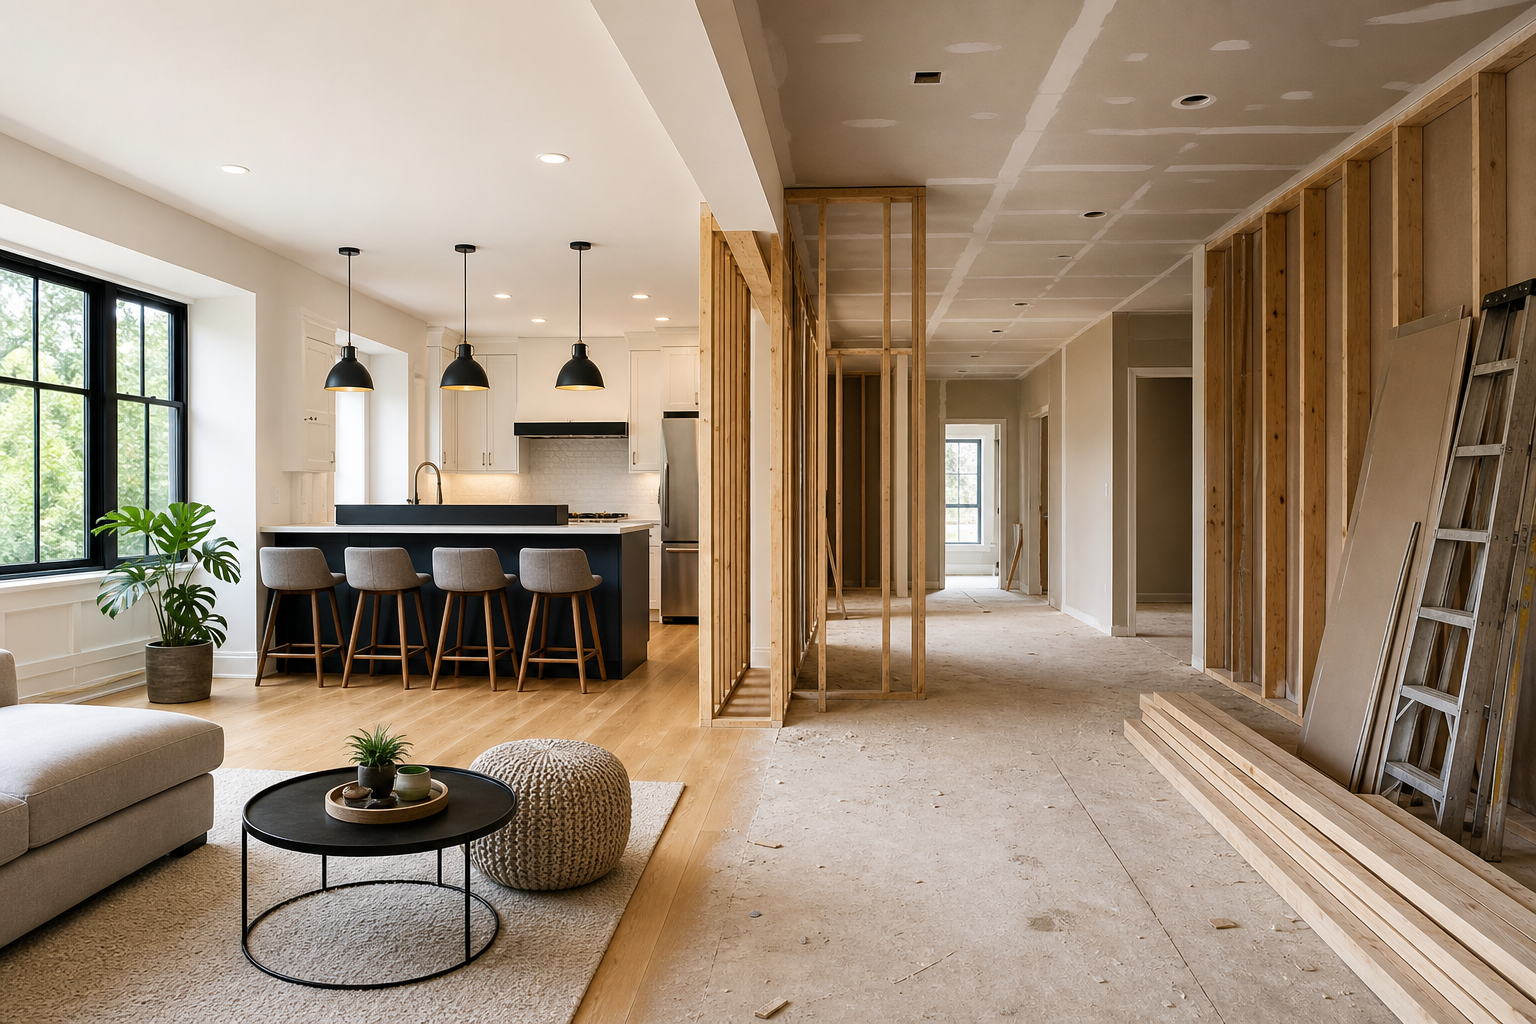
Home renovation project checklist that keeps scope, budget, and schedule aligned
A successful home renovation project is less about picking finishes and more about making the right decisions in the right order. The sequence below walks you through a practical planning and execution path that helps contain scope creep, protect your budget, and keep the schedule realistic. Use it as a working checklist you can print, annotate, and share with anyone involved.
Define your scope with clarity before anything else
Scope clarity is the foundation of every other choice. It tells you what belongs in the project—and what doesn’t. Write a short, plain-language scope statement that covers:
- Spaces affected (e.g., kitchen and adjacent powder room vs. entire main floor)
- Primary objectives (more storage, better lighting, improved layout, accessibility)
- Must-haves, nice-to-haves, and not-in-scope items
- Constraints (occupied home, pets, limited staging area, condo rules)
- Target start window and desired finish window (not fixed dates yet)
Translate this into a simple room-by-room checklist. If two decisions conflict, your scope statement is the tiebreaker.
Set your budget and a realistic contingency
Decide on an overall spend you’re comfortable with, plus a separate contingency reserved for unknowns (hidden conditions, substitutions, small scope tweaks). Keep these as separate line items in your tracking sheet. To build a practical budget:
- Split by phases: design, permits/approvals, demolition, rough-ins, finishes, cleanup
- Identify material choices that drive cost (flooring, tile, counters, cabinetry, appliances, fixtures)
- Flag items with long lead times—delays here can ripple across the schedule
- Plan for temporary living adjustments if a kitchen or only bathroom is out of service
Track budget updates at every scope or selection change. Small adjustments add up; your log should always match the current plan.
Choose a delivery approach that fits your capacity
How you structure the work determines how much management you’ll do day to day. Three common models:
- General contractor–managed: One primary point of contact coordinates trades, schedules, and sequencing. You approve milestones and selections.
- Homeowner-managed: You hire and schedule each trade directly. Suitable if you have time, construction familiarity, and a simple scope.
- Design–build: Design and construction live under one roof, simplifying handoffs between drawings, pricing, and site execution.
Pick the model that matches your appetite for coordination and risk. The more trades and interdependencies, the more centralised coordination tends to help.
Create drawings and specifications before pricing
Concept sketches are helpful, but dimensioned plans and clear specifications reduce guessing—and change orders. Aim for the following, even on smaller projects:
- Measured floor plans with demolition and new work clearly marked
- Electrical and lighting layout with switching plans and fixture schedule
- Plumbing fixture locations and any relocations
- Cabinet elevations with dimensions, door styles, and hardware notes
- Finish schedule listing flooring, tile patterns, paint colours, trims, and grout
Bundle these documents when requesting quotes so every bidder is pricing the same scope.
Check permits and approvals early
Some work may require permits or approvals. Confirm requirements with your local authority or building management before demolition. If permits are needed, align drawings with what reviewers expect to see and allow time for responses. Keep a dated log of submissions and approvals so you can reference what was sent and when.
Sequence the work to minimise rework
Good sequencing keeps trades from stepping on each other’s toes and prevents finished work from being damaged. A typical interior flow looks like this:
- Site protection and temporary setups (dust walls, floor protection, ventilation)
- Demolition and disposal
- Framing and structural adjustments
- Rough-ins: plumbing, electrical, HVAC
- Insulation and close-in
- Drywall, taping, and priming
- Flooring prep and installation (or protect subfloors if flooring is later)
- Cabinetry and millwork installation
- Tile, countertops, and backsplashes
- Interior doors, trims, and finish carpentry
- Painting and wallcoverings
- Plumbing and electrical trim-out (fixtures, switches, appliances)
- Final cleaning, touch-ups, and walkthrough
Adjust as needed for your specific home renovation project, but always protect completed finishes before the next trade mobilises.
Source materials early and manage lead times
Selections affect both budget and schedule. To stay ahead:
- Lock in specifications before rough-ins so measurements, blocking, and power are placed correctly
- Ask vendors for current lead times and ship-dates in writing
- Confirm on-site storage needs and protection for sensitive items like cabinetry and doors
- Order a small overage on tile and flooring to cover future repairs from the same dye lots
Create a material tracker with columns for item, vendor, spec, cost, order date, lead time, expected arrival, received, and installed.
Protect the home (and keep neighbours happy)
Prevention is cheaper than fixing damage. Before demolition, review and implement site protection:
- Floor coverings and corner guards on traffic routes
- Dust control barriers and negative air when cutting or sanding
- Cover returns and supply vents where appropriate
- Separate clean and dirty zones; set up a waste path and staging area
Photograph existing conditions (walls, floors, stair treads) before work starts to document baseline condition.
Establish communication and change control
Clear communication turns complex projects into manageable routines. Set expectations up front:
- One shared channel for decisions and updates (email thread or project board)
- Weekly schedule look-ahead: who is on site, what they’ll do, dependencies
- Change requests in writing with scope, cost, and time impact before approval
- Daily site notes with photos for progress tracking
When everything is written down, you reduce misunderstandings and protect the plan when personnel change or new trades join.
Build in quality checkpoints and inspections
Short, regular inspections prevent small issues from compounding:
- After demolition: verify unexpected conditions, measure again, confirm layout
- Before drywall: photograph framing, plumbing, wiring, and blocking (“pre-close” record)
- Before tile and cabinetry: confirm levelness, plumb lines, and substrate flatness
- Before paint: review surfaces under strong light; mark repairs with painter’s tape
- Final trim-out: test fixtures, appliances, outlets, and hardware in sequence
Keep inspection checklists in your project folder and sign them off with dates and initials.
Document everything you’ll wish you had later
Good documentation turns a finished renovation into a maintainable home. Capture:
- Serial numbers, manuals, and finish schedules
- Paint and grout colours with sheens and batch numbers
- Photos of concealed work with measurements to key references (e.g., 42 cm from the left jamb)
- Door hardware handing and key codes where applicable
- Care instructions for counters, floors, and specialty finishes
Store digital copies in a labelled cloud folder and share with anyone who will service the home later.
Plan your handover and closeout before the last day
Closeout goes smoother when you define it upfront. Agree on what “done” means:
- Punch list format, due date, and who compiles it
- Final cleaning scope (inside cabinets, inside appliances, window tracks, vents)
- Training on new systems or appliances
- As-built drawings or redlines reflecting field changes
- Key handover and access codes reset where applicable
Schedule a calm, unhurried final walkthrough in daylight. Bring blue tape, a flashlight, a level, a phone charger (to test outlets), and a marble or coin (to check floor flatness at transitions).
Common pitfalls to avoid
- Making selections after rough-ins: Leads to rework and awkward placements
- Underestimating staging space: Materials arrive with nowhere to go, causing damage or delays
- Skipping pre-close photos: Future repairs become guesswork
- Overlapping trades too tightly: Creates quality issues and finger-pointing
- Ignoring seasonal realities: Finishes and adhesives may have temperature or humidity requirements
- Letting small changes slide: Unlogged changes quietly drain budget and time
Simple tools that keep the project on track
You don’t need complex software to run a tidy renovation. A few simple trackers go a long way:
- Decision register: What was decided, by whom, when, and where it’s documented
- Material log: Selections, order dates, lead times, receipts, and on-site status
- Change log: Scope description, cost impact, schedule impact, approval date
- Issue list: Open items with owners and due dates; review weekly
- Photo archive: Organized by phase and room; include pre-close and completion sets
FAQ: running a smooth home renovation project
How do I decide what to tackle first?
Start with work that affects structure, utilities, and building envelope, then move outward to finishes. For example, layout changes, framing, plumbing and electrical rough-ins happen before cabinetry and tile. This order reduces rework and protects finished surfaces.
What if materials arrive late?
Keep a live schedule with dependencies and identify tasks that can proceed without the delayed item. If a critical-path item slips, consider temporary alternatives or resequencing adjacent rooms, but confirm quality and warranty implications before changing course.
Do I need permits?
Permit requirements depend on your location and scope. Check with your local authority or building management early and align your drawings with their submission standards. Build review and response time into your schedule.
How can I control scope creep?
Maintain a written scope statement and a change log. Any new idea should be documented with cost and time implications before approval. If the change doesn’t support your primary objectives, park it for a future phase.
What should a good punch list include?
List room-by-room items that are incomplete, damaged, or not meeting the agreed standard. Include photos, exact locations, and acceptance criteria (e.g., touch-up paint to match adjacent surface in normal daylight). Assign owners and due dates.