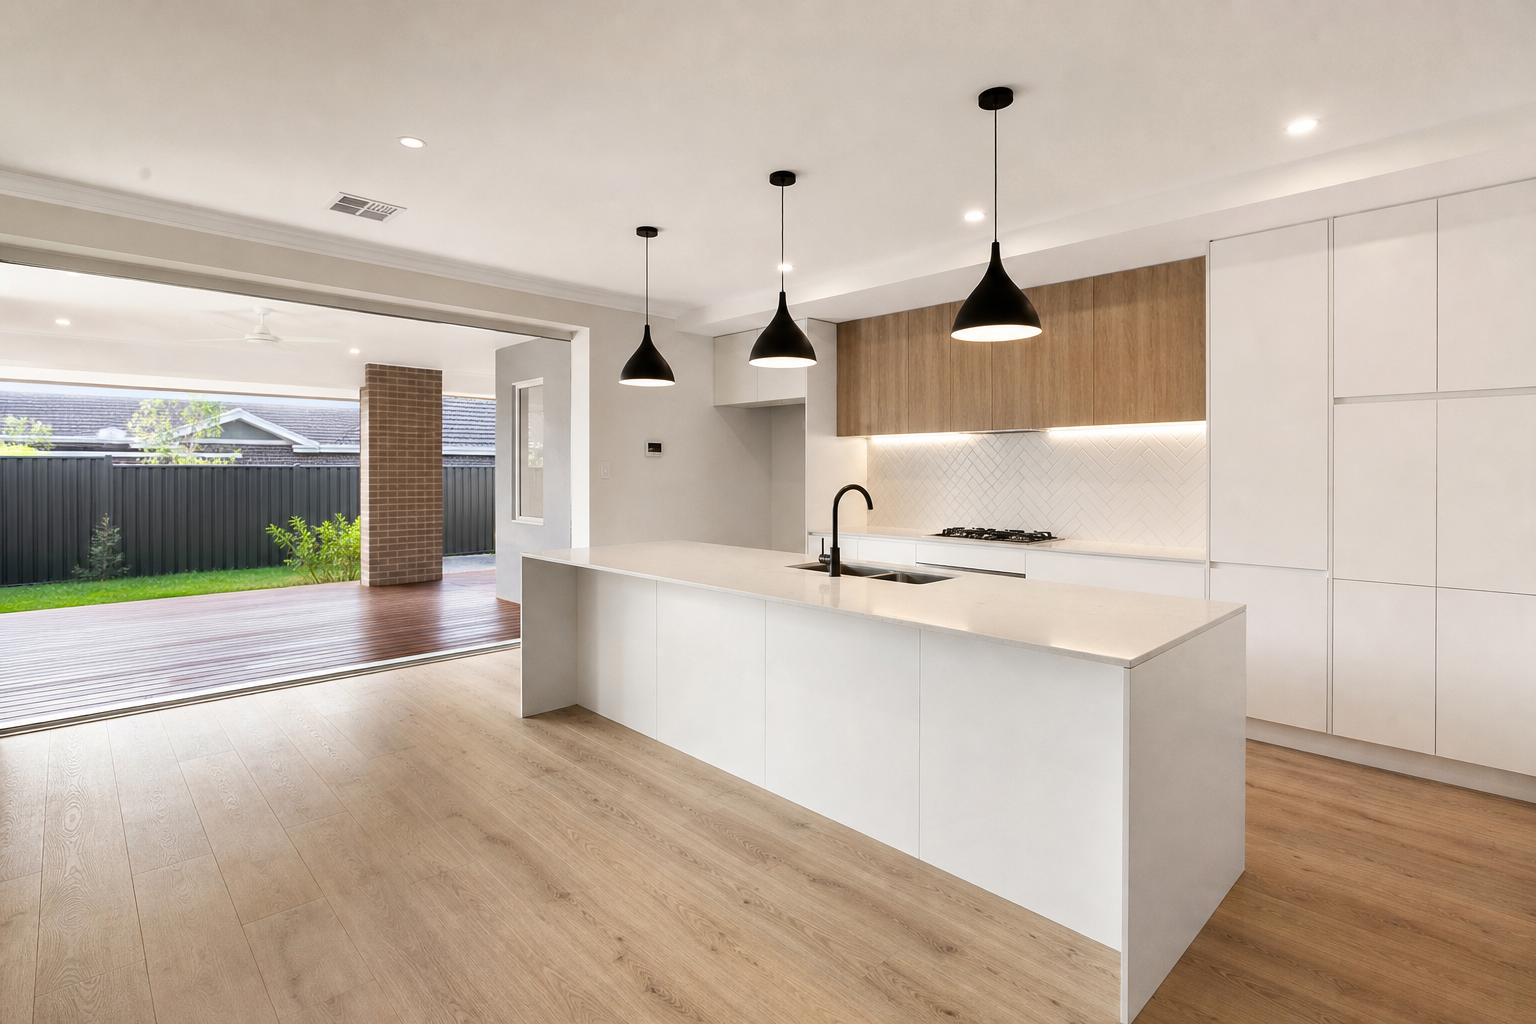
A Practical Guide to Clean Finish Renovations
Clean finish renovations are all about the details you do and do not see when a project is complete. Straight lines, tight reveals, even gaps, flush surfaces, quiet transitions, and consistent textures are the hallmarks. Achieving that look is rarely an accident. It is the outcome of clear planning, compatible specifications, disciplined site protection, precise substrate preparation, and thoughtful sequencing across trades.
This guide turns the concept of a “clean finish” into practical steps you can use to scope a project, ask the right questions, and evaluate progress long before final paint. Whether you are renovating a kitchen, fitting out a retail space, or updating a bathroom, the same fundamentals apply.
What “clean finish” means in practice
In everyday terms, a clean finish is a renovation result that looks intentional and calm. You notice the design, not the joints. The light reads surfaces as flat and true. Corners land where they should. Doors close smoothly. There are no distracting shadows from bowed studs, wandering grout lines, or misaligned hardware.
- Alignment: Doors, drawers, outlets, fixtures, and trim line up horizontally and vertically.
- Consistency: Gaps and reveals are uniform along their full length.
- Flatness and level: Walls, ceilings, and floors meet realistic flatness/levelness targets for the selected finishes.
- Quiet transitions: Material changes (tile to wood, drywall to millwork, stone to paint) happen with deliberate, repeatable details.
- Durability: Finishes resist common wear without premature edge failure, joint cracking, or swollen substrates.
Everything that produces those results can be planned and measured.
Plan first: the foundation of a clean finish
Most finish problems are locked in long before the finish trades arrive. A short planning sprint at the start of your project will do more for the outcome than any amount of painter’s caulk at the end.
- Define desired tolerances: Decide where reveals are exposed and how wide they should be; specify acceptable gap ranges for tile, casework, and flooring.
- Draw interfaces: For each place where materials meet, sketch the edge condition (e.g., schluter profile vs. mitered tile, scribed millwork vs. caulked joint) and note which trade owns which line.
- Pick reference lines: Establish level lines and control points early; carry them through framing, drywall, tile layout, and cabinetry.
- Sequence the work: Put messy and vibration-heavy tasks (demolition, core drilling, heavy framing) ahead of delicate substrate prep and finish installs.
- Pre-approve samples and mockups: Test paints, grout colors, trim profiles, and lighting on site to confirm color and shadow lines in real conditions.
Specifications that support clean finishes
Finishes look clean when the materials are compatible with their environment and with one another. The specification is where compatibility becomes real.
- Moisture-aware choices: Use moisture-tolerant backers in kitchens and bathrooms; avoid wood-based substrates behind wet tile work.
- Light-aware sheens: Pair wall and ceiling sheens with actual lighting; glossier paints reveal surface imperfections, while flats hide more but may mark easier.
- Hardware systems: Select hinges, slides, and pulls designed to work together; specify overlay types and clearances so doors align without binding.
- Profile coordination: Choose trim, nosings, and edge profiles that repeat across the space to standardize shadow lines.
- Movement accommodation: Specify appropriate sealants and movement joints for tile, stone, and long millwork runs to prevent cracking.
Site preparation and protection
Dust, impacts, and moisture are the biggest threats to a crisp finish. A simple protection plan preserves the substrates you are about to make perfect.
- Dust control: Use zip walls and negative air where practical; vacuum with HEPA filtration before painting and flooring.
- Surface protection: Lay down ram board or similar on floors; protect finished millwork with breathable wraps; cap open ducts during dusty work.
- Staging: Keep finishes in a clean, dry staging area; acclimate wood products to site humidity before installation.
- Moisture checks: Verify substrate moisture content before setting tile, installing wood flooring, or closing walls.
Framing and substrate accuracy
Clean finishes depend on the surfaces they adhere to. If studs wander or floors roll, no amount of high-end material will hide it under strong lighting.
- Stud layout and straightening: Plane or sister studs to plumb; align corners and openings to cabinet and tile dimensions.
- Flat ceilings: Use furring or leveling systems where joists are out; confirm recessed lights fit within the intended grid.
- Floor prep: Check levelness and flatness; skim coat or self-level as needed before tile or large-format flooring.
- Backer selection: Use appropriate backers for tile, stone, and waterproof areas; tape and mud to manufacturer instructions.
- Drywall finish level: Match the drywall finish level to the specified paint sheen and lighting; higher sheens need higher finish levels.
Plumbing, electrical, and HVAC that “disappear”
Mechanical systems can visually clutter a space when they are not coordinated with the finish layer. Make room for them early and align their locations with the design.
- Box and device layout: Center outlets and switches on backsplashes or trim modules; keep heights consistent across rooms.
- Fixture blocking: Install blocking for wall-hung vanities, accessories, and heavy shelving before closing walls.
- Register placement: Align floor and ceiling registers with grids and avoid landing them in high-visibility edges or transitions.
- Plumbing rough accuracy: Stub-outs should be square to the finish plane and centered on tile or fixture axes.
Key finishes and their interfaces
The places where materials meet are where clean finishes are made or lost. Treat interfaces as design elements, not afterthoughts.
- Tile: Plan layout from a visible centerline; avoid slivers at edges; choose grout joints sized for tile caliber and warpage.
- Millwork and cabinetry: Scribe to walls and floors rather than forcing walls to appear straight; design reveals to hide inevitable irregularities.
- Countertops: Verify cabinet levelness before templating; specify overhangs and edge profiles that repeat across the space.
- Flooring transitions: Use low-profile or flush transitions where possible; align with door centers or room axes.
- Paint and wallcoverings: Caulk only where movement is expected; avoid over-caulking trim which can create wavy lines.
- Sealants: Tool joints uniformly; select color-matched sealants against tile and stone to calm the eye.
Quality control and punch-listing
Measure the work the same way you defined it: against tolerances and reference lines. A structured punch process prevents rework from dragging on.
- In-progress checks: Inspect framing, substrate prep, and rough-ins before closing walls or scheduling finishes.
- Lighting for inspection: Review finishes under permanent lighting; raking light will reveal surface issues earlier.
- Defect coding: Mark issues with non-staining tape and reference them to a shared punch list with photos.
- Owner walk-through: Walk clockwise, top to bottom, room by room; note function (doors, drawers, fixtures) as well as appearance.
Timeline and sequencing that protect the finish
Clean results require clean timing. Overlapping incompatible tasks invites damage and compromises.
- Dry time discipline: Respect cure times for muds, primers, adhesives, grout, and sealants before the next trade touches the surface.
- Heavy-to-light: Complete vibration and impact work before fine leveling, tile setting, and paint finish coats.
- High-to-low: Work from ceilings and upper walls down to floors to avoid cascading damage.
- Late hardware: Install decorative hardware, mirrors, and glass after dusty work is done and protection is in place.
Budget tradeoffs without sacrificing the look
A clean finish comes more from planning and precision than from premium materials alone. When budgets are tight, invest where the eye and hand spend the most time.
- Spend on substrates: Allocate for leveling, straightening, and blocking. Hidden work makes visible work read cleanly.
- Standardize details: Reuse the same trim profiles, tile edges, and hardware families to reduce custom labor.
- Prioritize touch points: Choose reliable hinges, slides, and latches; the feel of operation signals quality more than many decorative upgrades.
- Right-size tile: Large-format tiles demand flatter substrates; if substrate correction is limited, choose formats that suit conditions.
- Lighting first: Proper lighting can elevate mid-range finishes, while poor lighting can cheapen premium materials.
Post-completion care that preserves the result
Even the cleanest finish needs thoughtful care to stay looking crisp. Include simple maintenance in your turnover plan.
- Cleaning protocols: Use non-abrasive cleaners compatible with sealants, grout, and finishes; avoid saturating wood products.
- Humidity control: Maintain reasonable indoor humidity to limit seasonal movement in wood and prevent condensation at cold bridges.
- Touch-up kits: Keep labeled paint and sealant for small nicks; store tile and flooring offcuts for future repairs.
- Hardware tuning: Plan seasonal checks for door and drawer alignment; adjust as substrates move with temperature and humidity.
Common pitfalls to avoid
- Assuming finishes will “cover” framing or substrate inaccuracies.
- Choosing high-gloss paints without upgrading drywall finish levels.
- Skipping mockups or samples and discovering color or sheen surprises at the end.
- Forgetting movement joints in long runs of tile, stone, or millwork.
- Allowing heavy trades to work over unprotected finishes.
- Setting cabinets before confirming floor flatness and wall plumb.
- Rushing cure times for adhesives, grouts, or coatings.
Room-by-room clean finish checklists
Use these targeted checklists to pressure-test the plan for your specific space.
Kitchens
- Backsplash layout centered on key views; outlets aligned with tile pattern or integrated strips.
- Cabinet reveals consistent; end panels scribed to walls and floors.
- Countertop seams planned away from sinks or cooktops when possible; edges consistent across runs.
- Toe-kick heights uniform; finished floor slips cleanly under appliances with service access.
Bathrooms
- Waterproofing verified with flood or moisture tests where applicable before tile.
- Shower niches aligned with tile grid; slopes correct and even.
- Glass measurements taken after tile completion; anchors into blocking, not hollow board.
- Sealant joints uniform at all plane changes; fixtures centered and square.
Living and retail spaces
- Feature walls framed to true; seams placed symmetrically or hidden in reveals.
- Flooring direction coordinated with light and traffic; transitions land at centered thresholds.
- Lighting laid out from a consistent datum; trims align with architectural lines and shelving.
How to evaluate progress during construction
Mid-project reviews help you catch deviations before they become costly to correct.
- Check control lines: Confirm level and plumb reference marks are still visible and being used.
- Measure typicals: Sample a doorway, a window, and a cabinet bank for plumb, level, and square.
- Mock interface: Before proceeding across a whole wall or room, fully complete a small, representative corner—including trim, caulk, and paint.
- Photograph everything: Keep dated photos of framing, blocking, and rough-ins to guide later adjustments and maintenance.
FAQ: Clean finish renovations
What matters more: premium materials or precise preparation?
Preparation. While material quality affects durability and appearance, the substrate and layout determine how clean the finish looks. Straight framing, flat surfaces, correct blocking, and coordinated layouts make mid-range materials look excellent, while poor prep can undermine the most expensive products.
How do I avoid visible tile slivers and awkward cuts?
Start with a layout drawing based on room centerlines or a key visual axis, dry-lay a course, and adjust to avoid narrow cuts at edges. Center niches and valves on the tile grid, keep grout joints consistent with tile caliber, and verify substrate flatness so courses do not drift.
Why do my paint finishes look wavy under certain lights?
Raking light from windows and accent fixtures exaggerates surface imperfections. If you specify higher-sheen paints or strong grazing light, raise the drywall finish level, skim critical walls, and sand between coats. Review samples under permanent lighting before approving the finish.
When should hardware and glass be measured?
After the adjacent finishes are complete and substrates are confirmed plumb and level. Measuring too early invites misfits and shims that disrupt clean reveals. Block for loads in advance, then measure and install late in the sequence to protect delicate edges.
What is the fastest way to improve the look without a full remodel?
Focus on touch points and lines: align and tune doors and drawers, replace mismatched switch plates, standardize trim profiles, add consistent edge details at material transitions, and improve lighting. These changes sharpen the visual order of a space without major demolition.